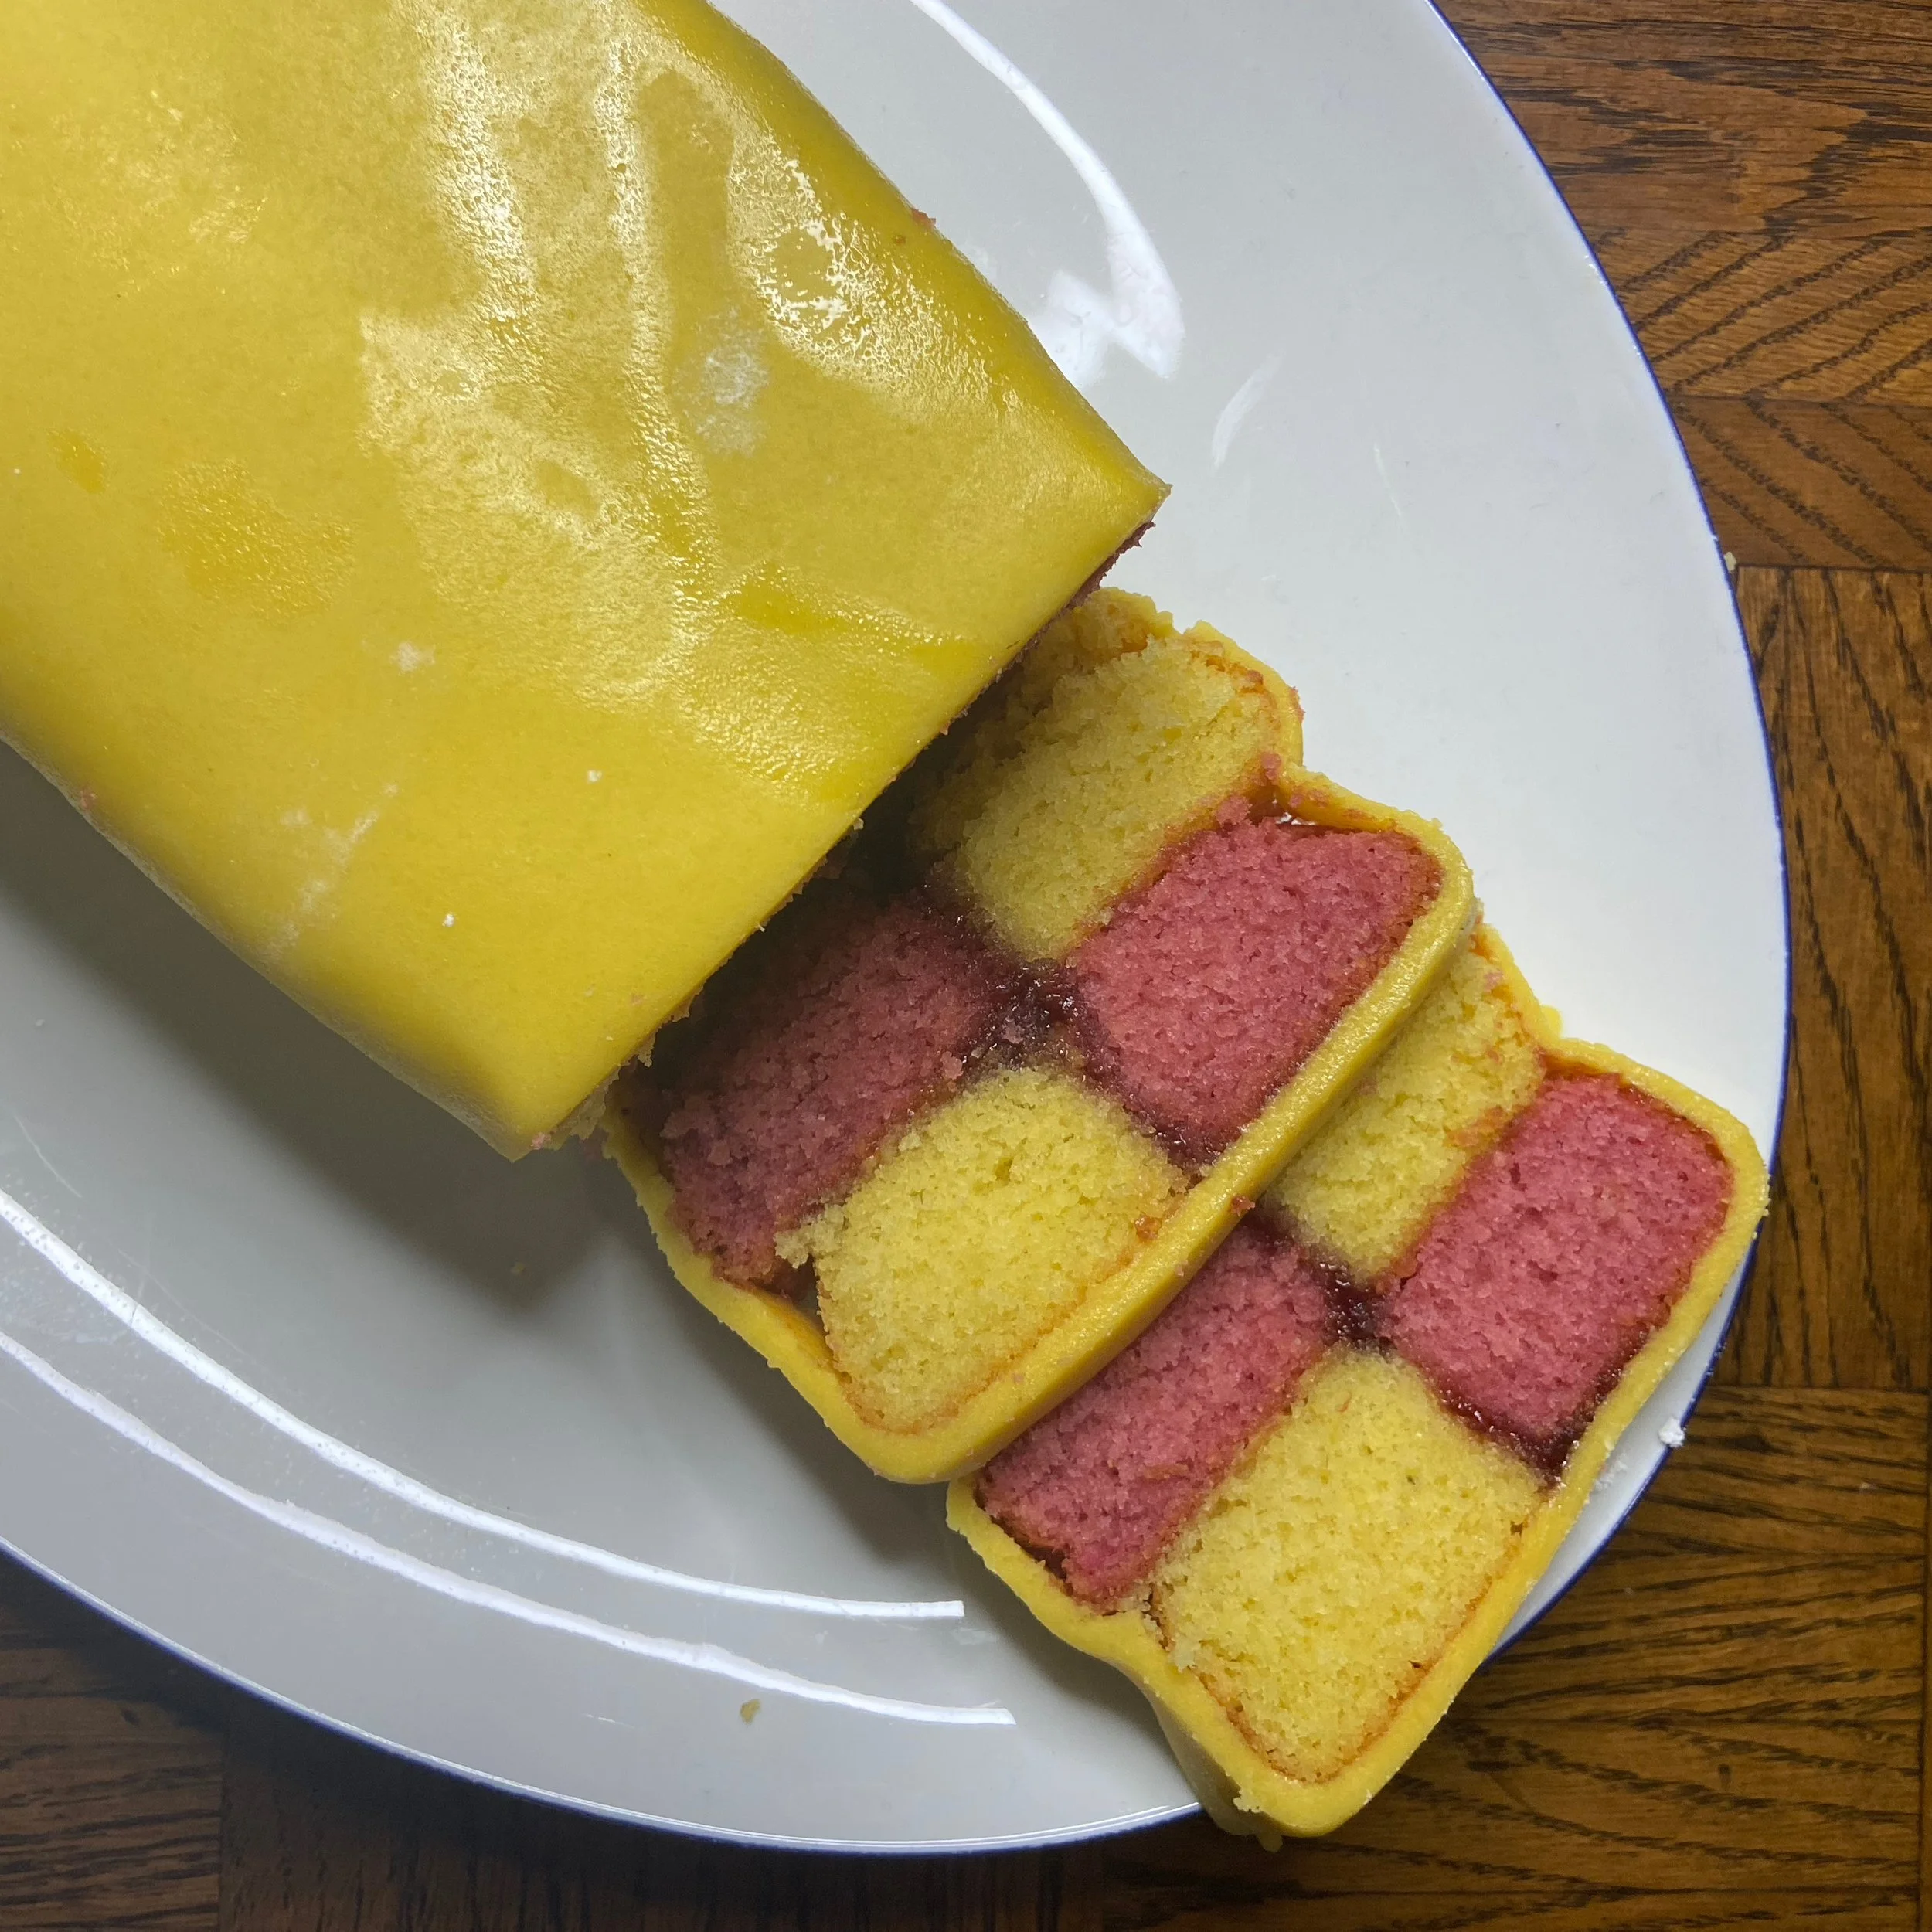
Battenberg
Ingredients:
175g butter, softened
175g caster sugar
140g gluten free self raising flour
50g ground almonds
1/2 tsp gluten free baking power
3 medium eggs
Grated zest of 1 lemon
Yellow food colouring paste
1/2 tsp raspberry extract
Pink or Red food colouring paste
To assemble and finish:
6 tbsp raspberry jam (seedless)
400g marzipan
a little icing sugar for rolling
Method:
Preheat the over to 160C Fan. Line a 23cm square cake tin with non-stick baking parchment, so there is a middle pleat that divides the tin in half.
In a large mixing bowl, using a hand mixer to cream the butter and sugar until light and fluffy. Add the flour, ground almonds, baking powder and eggs, and mix until smooth and combined.
Divide the mixture equally between two bowls. To one bowl, add the lemon zest and enough yellow food colouring paste to achieve a vibrant yellow colour. To the other bowl, add the raspberry extract and enough red or pink food colouring paste to achieve a pastel pink colour.
Pour the cake mixtures into either side of the prepared tine and bake in the oven for 25-30 mins, or until cooked through. Leave the sponges in their tins for about 5 minutes before turning them out onto a wire rack to cool completely.
Heat the raspberry jam in the microwave so that it is lovely and smooth for sticking together the cakes. Allow to cool.
Trim the edges of both cooled sponges using a sharp knife, and carefully use a cake leveller or knife to remove the tops, revealing all that beautiful colour hiding beneath. Cute two strips out of each sponge that are equal in height and width. If needed, trim the end of the strips to ensure that they are identical in length.
Dust your work surface with a little icing sugar and roll out the marzipan a 4mm thickness, aiming for a large square that’s around 20cm wide. Brush the marzipan liberally with the slightly cooled raspberry jam, reserving a little for later.
Pace on of each colour strip into the middle of the marzipan (browned bottom facing up) and brush the tops with jam, Brush between the two colour strips with more jam and then push them together. Place the other two sponges on top (browned bottom facing up again) but this time reverse the order of the colour to create a chequerboard effect, brushing between the strips with jam before pushing them together.
Carefully bring the marzipan up and over the assembled strips, keeping it as tight to the cake as possible to reduce any gaps. Trim any excess marzipan to create a seam right in the middle - this will be underneath so no need to be too neat.
Carefully flip the cake over and trim the cake at each end to remove the excess marzipan, revealing the beautiful chequerboard pattern. Enjoy!